As the picture processing process involves many different tasks such as screenshots, cutouts, retouching, picture animation, and picture special effects production, in the past, in addition to using specialized software such as Photoshop, it often requires a small number of different functions. Tools to deal with. Now, we can use a free image processing software "picture factory" to complete almost everything in image processing.
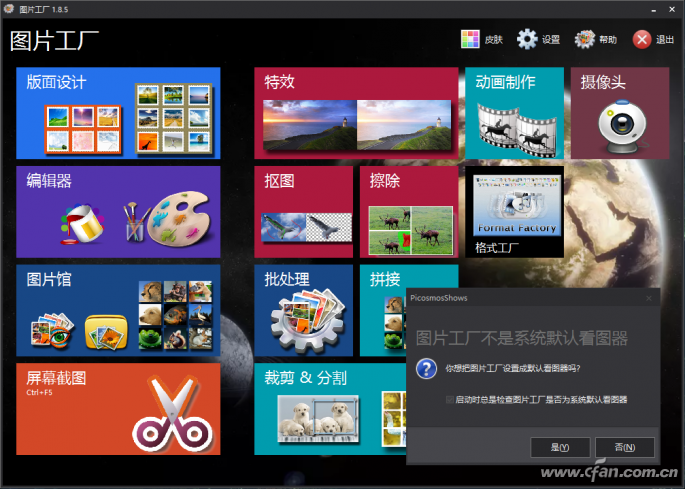
Most of the tasks of the image processing are selected by the module through the main interface of the "Picture Factory", but some modules can also be directly activated by hotkeys (such as screenshots). If the software is not set as the default viewing software during installation, when the software opens a picture, it will prompt whether to set the software as the default viewer. The first time you use it, you can choose not to choose it. After you experience it, if you think that using the software to see the diagram is more convenient than the system's own viewing software, you can set it as the default image processing software (Figure 1).
1. Screenshots and maps processing
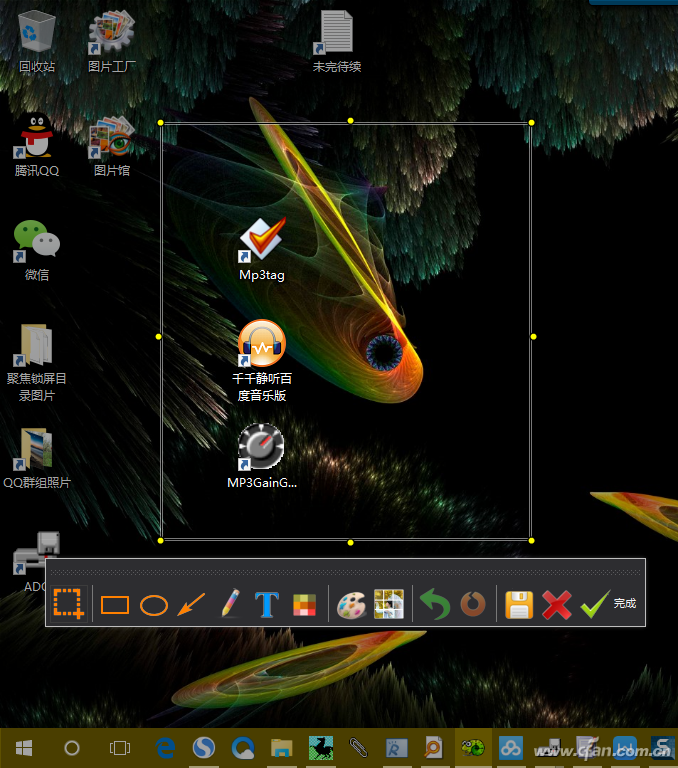
If you want to take a screenshot of the entire screen or a certain area, you can select "screenshot" through the main interface of the software, but it is more convenient to use the Ctrl+F5 key combination to perform screenshots so that you can avoid the software window to the screen. The influence of the screen, even if the software is in a minimized state, is not misunderstood. The key combination is effective only after the software starts resident. After pressing the screenshot hotkey, the default is the entire desktop. If you use the left mouse button to drag, you can select any rectangular area on the desktop to take screenshots. Flexible (Figure 2). After the interception of the selected area is completed, a toolbar (including selection, line text, pattern tool and file operation tool) will automatically appear below, which can easily complete editing, editing, and saving of the selected area.
hint:
It is worth mentioning that, using the “Splitter†and “Editor†buttons on the screenshot toolbar, you can directly enter the image segmentation and editing environment without having to specifically start these two tools.
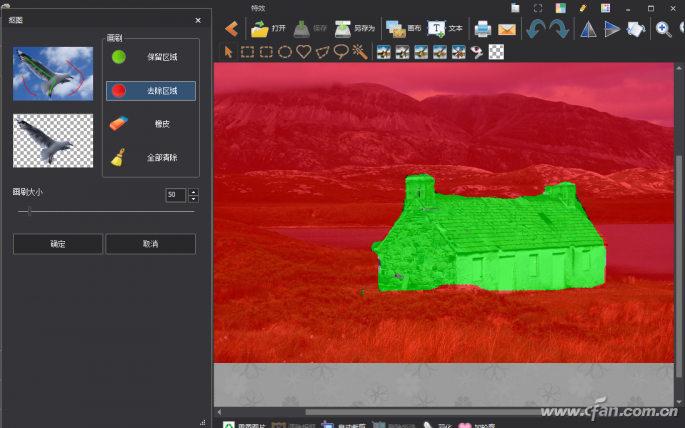
If you want to capture the contents of the picture, please click the button on the main interface to load the original picture to be drawn; then use the green brush to paint the area to be retained, and then use the red brush to paint the area to be removed. , At the same time, you can adjust the thickness of the brush; after the painting is done, execute the “OK†button to complete the map operation. If there is a wrong place in the middle, erase it with the eraser tool (Figure 3).
2. Image cropping and splicing
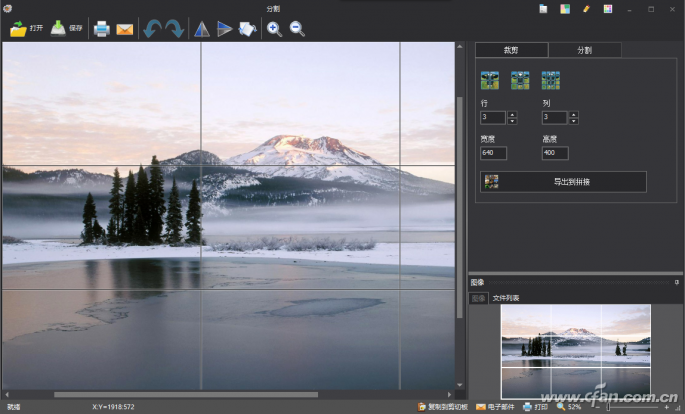
We often have to split the image into a matrix and reassemble it. To achieve this requirement, first open the picture to be split in the splitter, click on the "split" tab, set the number of rows and columns to be split, height, and click the "Save" button to complete the split. If you want to crop the picture, click on the "Crop" tab, and then select "free cut" or a specific scale cut from the list of cropping modes. After saving the selection, save it (Figure 4).
The picture splicing may be performed using the divided pictures, or may be spliced ​​by other pictures. If the spliced ​​pictures are spliced, the “export to splicing†is performed directly through the split window, and the split pictures are directly exported to the splicing window. If it is spliced ​​by other pictures, the splicing window should be entered through the homepage splicing module, and the pictures to be spliced ​​are opened for splicing.
3. Photo editing and special effects production
Photo editing is often done immediately after the screenshot, or it can be edited on an existing image. If it is done after the screenshot, click the image editing button on the screenshot toolbar to enter the editing window; if it is to edit the existing image, enter the editing window through the editor module of the homepage, and then open the image for editing (Figure 5) ).
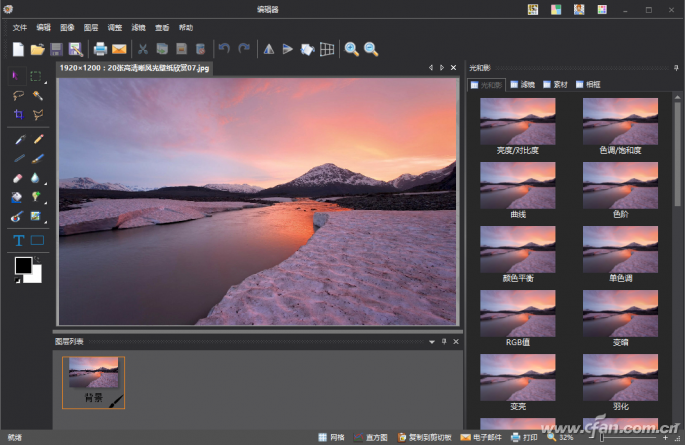
The most commonly used image processing tasks are digital image editing and effect processing. After opening the photo with the editor, you can use the “Light and Shadow†tab to implement various light and shadow effects on the photo. At this time, just select the corresponding light and shadow tools under the tab in the right window to make appropriate adjustments. And editing. If you want to achieve photo effects, you can use the "filter", "material" and "frame" tab on the right side, apply the rich template or material provided by the software, and then make the appropriate adjustments, you can get the special effects.
4. Design of image layout
Imposition is now a popular way of displaying images. Through the imposition module to enter the free scene puzzle, add a number of pictures need to be puzzled, choose the arrangement and whether to add shadows, contours and so on. Use the Canvas tool to make adjustments to the canvas and use the Text tool to add text or notes (Figure 6).
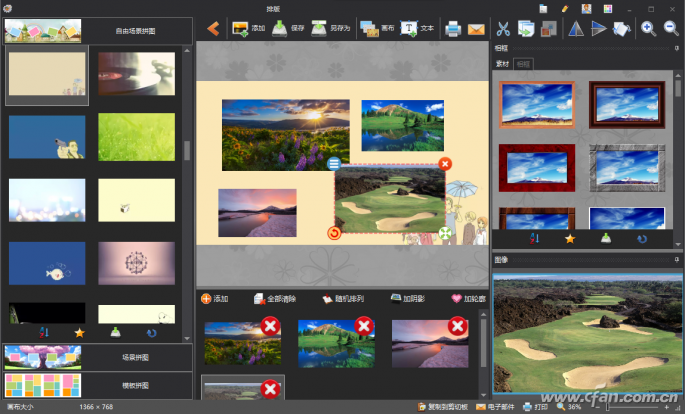
You can also select the "scene puzzle" and apply some ready-made scenes as the image background environment. In addition, you can also select the "template puzzle", select your favorite template from the existing specific template, and apply the image imposition style. This can greatly improve the efficiency of picture layout.
5. The production of picture animation
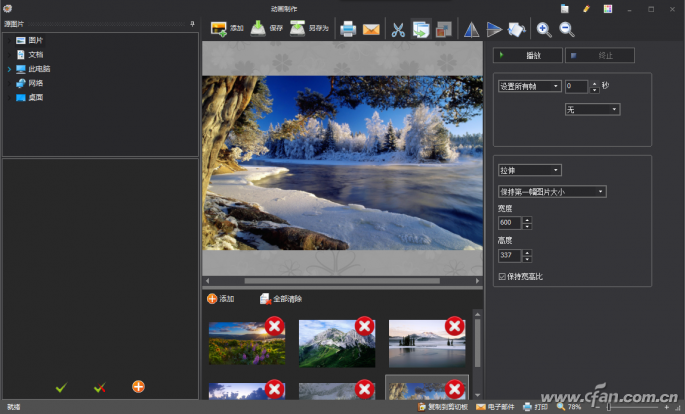
There is a popular way to animate multiple pictures. At this point, we do not need to look for a special picture animation software. Select the “Picture Animation†module in the main window of the picture factory to start the picture animation window and you can easily generate animations from the pictures.
Click "Add" to load the picture used to create the animation, then set the limit maximum resolution, set the playback interval of the frame, set the picture is stretched, the size of the picture and whether to maintain the aspect ratio options; then click "play "The button can see the animation effect. If satisfied, click the "Save" button to save the animation file (Figure 7).
Solar Inverter With Controller
Types Of Solar Inverters,Solar Inverter With Controller,Inverter With Battery Charger,Solar Charge Controller Inverter
Jinan Xinyuhua Energy Technology Co.,Ltd , https://www.xyhenergy.com